
What your land may be telling you — before the problem becomes obvious
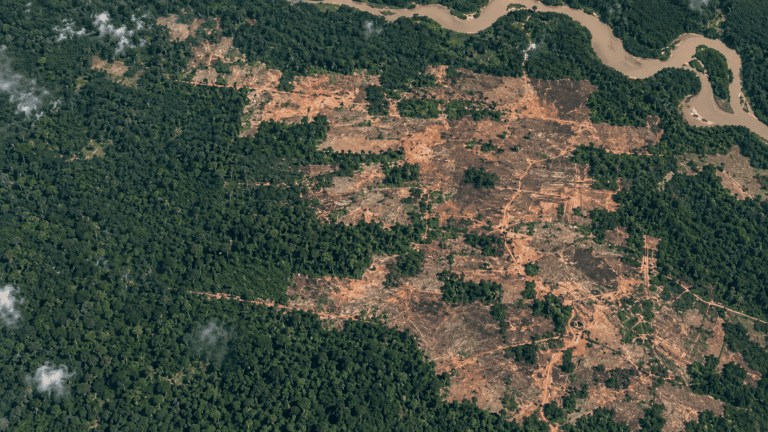
A field does not have to look badly damaged to be under stress. It can still be green, carry a crop and look perfectly ordinary from the road. Yet below the surface, the soil may be becoming harder, losing structure, holding less water or supporting less biological activity.
Most of these changes happen gradually. That is why the first clues are often easy to overlook: water that takes longer to soak in, roots that stay near the surface, a patch of crop that always performs poorly, or a crust that appears after rain.
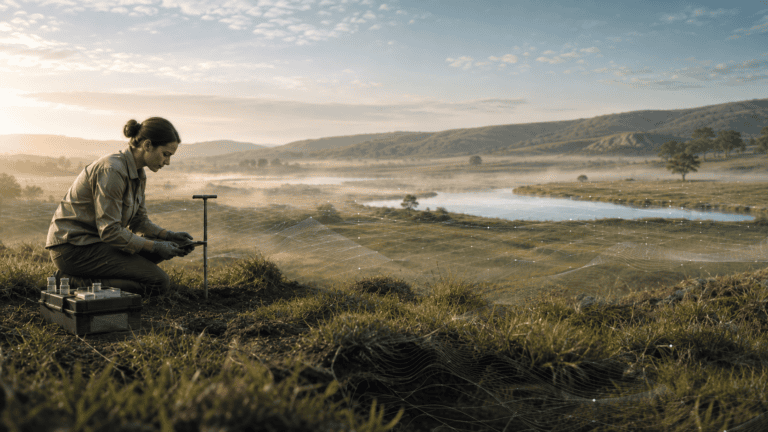
The useful thing is that you can notice many of these clues without specialist equipment. A spade, a little water and fifteen quiet minutes in the field can already tell you a great deal.
One important point before you start: one sign on its own does not prove that a soil is degraded. Soil type, weather, season, slope and management all affect what you see. What matters is the pattern. When several warning signs keep appearing together, it is worth looking more closely.
1. Rainwater stays on the surface
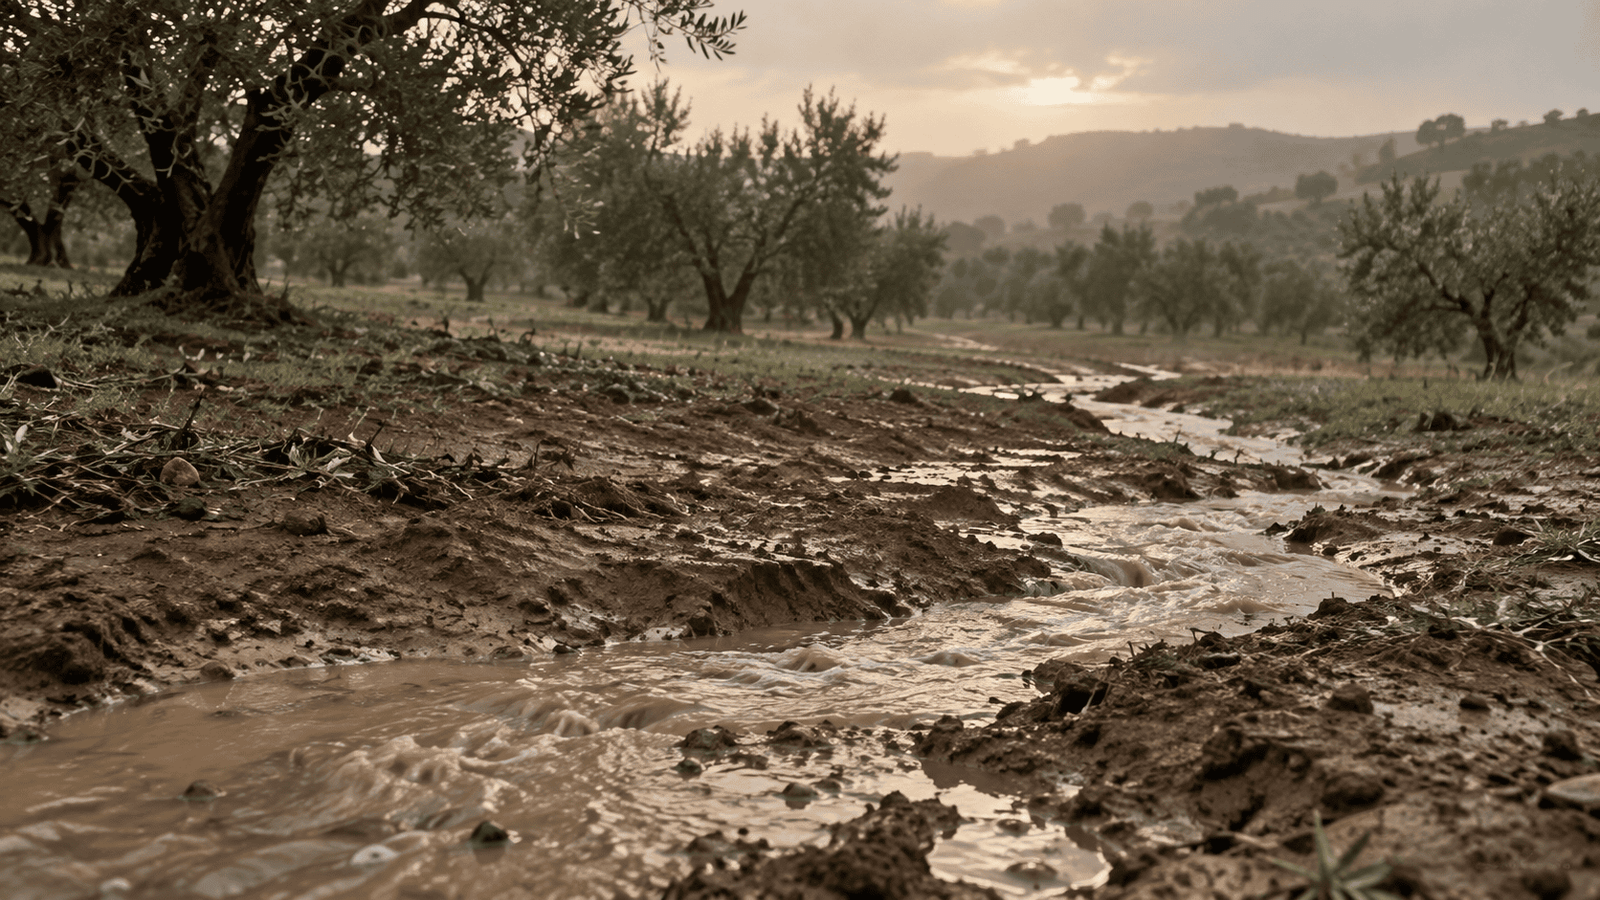
Go out after a decent rainfall and watch what the water does. Does it disappear into the ground, or does it sit in puddles, run along wheel tracks or flow towards the bottom of the field?
When water enters slowly, the soil may have fewer connected pores than it once had. Compaction, a sealed surface or weak structure can all make infiltration more difficult. The result is simple: more water runs away and less stays in the soil for the crop to use later.
Try it yourself: push a short open-ended ring or tin a few centimetres into the soil, pour in the same amount of water in two different places and compare how long it takes to disappear. You do not need a perfect laboratory measurement to notice a meaningful difference.
2. Soil is leaving the field
Erosion is not always a dramatic gully. It can start with much smaller signs: thin channels after rain, exposed roots, soil gathered at the bottom of a slope, or fine sediment where water leaves the field.
Those small movements matter because the first material to disappear is often the surface soil, where much of the organic matter, nutrients and biological activity are concentrated. If the same places lose a little soil every year, the damage can become significant long before it looks spectacular.
3. The surface becomes hard and sealed
After rain followed by drying, look closely at the top few millimetres. Some soils develop a thin crust that feels surprisingly hard compared with the soil underneath.
That crust can make it more difficult for seedlings to emerge and for the next rainfall to enter the soil. A useful comparison is to look at a bare patch beside soil protected by crop residues, grass or permanent vegetation. If the protected soil remains loose while the bare soil seals over, the difference is worth paying attention to.
4. Your spade keeps hitting a hard layer
Push a spade into the ground in several places. If it suddenly becomes much harder at roughly the same depth each time, you may be finding a compacted layer.
Repeated machinery traffic, cultivation at the same depth or working the soil while it is too wet can all contribute. A dense layer can restrict roots and slow the movement of air and water.
But be careful: dry clay can be naturally very hard. Compare places with a similar moisture content before assuming that resistance means compaction.
5. Roots turn sideways, thicken or stay shallow
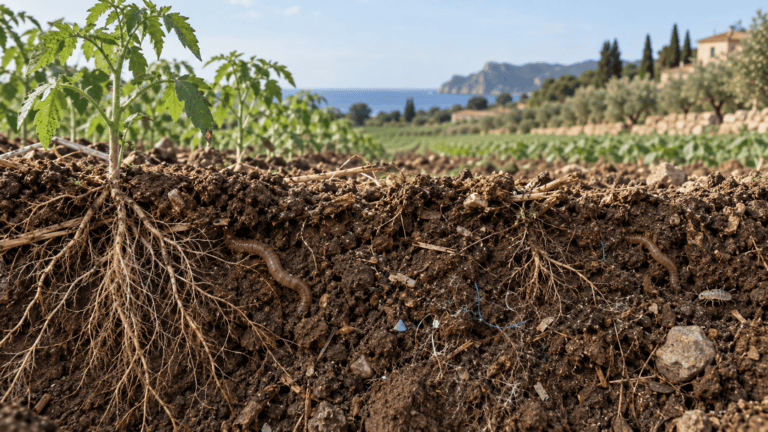
Roots are one of the best ways to see what is happening below ground. Dig a plant out carefully rather than pulling it up, then look at the shape of the root system.
Do the roots explore the soil, or do many of them suddenly turn sideways at the same depth? Are they thickened, distorted or concentrated in the top few centimetres? Patterns like these can point to a physical or chemical barrier that the crop is struggling to cross.
A small inspection pit often tells you more about the soil than looking at the crop from above.
6. Soil crumbs collapse as soon as they get wet
Healthy-looking soil often breaks into small crumbs rather than into hard blocks or loose dust. These crumbs — or aggregates — help create the spaces through which roots, water and air can move.
Take a dry crumb and place it gently in a clear glass of water. If it keeps much of its shape, it has some stability. If it immediately falls apart into a cloud of fine particles, the structure may be less resistant.
This simple slake test becomes much more useful when you compare two areas side by side, such as cultivated soil and a nearby strip with permanent vegetation.
7. You dig and find very little life
Turn over a spadeful of soil and spend a moment looking, rather than immediately breaking it apart. Can you see worms, small arthropods, fine roots, old root channels or plant residues at different stages of decomposition?
A single spadeful is not a biodiversity survey. A hot, dry afternoon may reveal very little life even in a functioning soil. But repeated observations can be revealing, especially if a nearby comparable area consistently contains more visible activity.
Soil organisms matter because they help decompose residues, recycle nutrients, build aggregates and create pores.
8. The crop grows in the same patches year after year
Most fields are not perfectly uniform. But recurring patches deserve attention: an area that is always shorter, yellower, wetter, drier or quicker to wilt than the rest of the crop.
There are many possible explanations, including pests, irrigation problems, disease or nutrient supply. Soil can also be part of the story. Compaction, poor drainage, salinity, shallow soil or differences in organic matter can all produce persistent patterns.
Instead of asking only ‘Why is the crop poor here?’, try asking: ‘What is different in the soil beneath this patch?’
9. Pale or white deposits appear on the surface
In irrigated land and in dry climates, white or pale deposits can be a warning that salts are accumulating near the surface. This can happen when water evaporates and leaves dissolved salts behind, particularly where drainage is limited.
A white patch is not enough to diagnose salinity, but it is a good reason to check. Electrical conductivity is a simple measurement that can help confirm whether salts are becoming a problem.
10. You need more inputs to achieve the same result
This is perhaps the easiest sign to miss because it develops slowly. The field may still produce, but perhaps it now needs more irrigation, more fertiliser, more passes with machinery or more corrective work to deliver roughly the same result.
Yield on its own cannot tell you whether the soil is functioning well. Management can compensate for declining soil condition for quite a long time.
So a useful question is not only ‘How much did the field produce?’, but also: ‘How much support did the soil need to produce it?’
So, is your soil degraded?
One sign is a clue. Several signs together begin to tell a story.
Poor infiltration, a hard layer and shallow roots, for example, all point towards a possible physical restriction. White deposits combined with weak crop growth may make salinity worth testing. Bare soil, visible run-off and sediment at the edge of a field tell a different story.
That is why soil condition is normally assessed using several indicators rather than one test. Physical, chemical and biological observations complement each other, and their meaning depends on the soil, climate and land use.
Start with a 15-minute soil check
Walk across the field and choose a few contrasting places: a good patch, a poor patch, a trafficked area and, if possible, a less disturbed reference area nearby. Look at the surface, dig a small hole, examine the roots and watch what happens to water.
If several warning signs keep appearing, that is the point to move from observation to measurement. Depending on what you see, useful next steps may include soil organic carbon or organic matter, pH, electrical conductivity, bulk density, aggregate stability, nutrient status or another targeted analysis.
The aim is not to give your soil a simple “healthy” or “unhealthy” label. It is to notice change early, understand what may be happening and decide what is worth measuring next.
| NEST idea: Soil Check This article can become a simple interactive NEST Soil Check: ten visual questions that help people record warning signs in their land and identify which measurements could be useful next. It should guide observation, not pretend to diagnose degradation with a single score. |
Sources and further reading
- FAO — Global Soil Health Indicators and Assessment
- FAO — Local Assessment of Soil Health
- USDA-NRCS — Soil Health Assessment
- European Commission — Soil Monitoring Law
Editorial note: This is a practical field-observation guide, not a diagnostic protocol. Soil condition should always be interpreted in context and, where necessary, confirmed with appropriate measurements or expert assessment.